
contact@namysoi7a.com
(713) 555-4123
Toggle Navigation

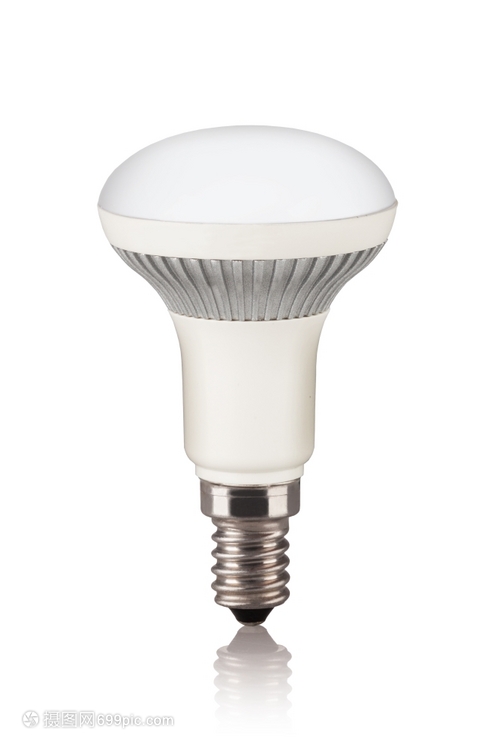 LED lamps are widely used in various electronic devices due to their high efficiency, energy saving, environmental protection, and long lifespan. However, LED lamps may encounter various faults during use, such as insufficient brightness, not lighting up, flickering, and uneven lighting. These faults not only affect the use effect of the LED lamp but may also affect the overall performance of the device. When encountering these faults, we usually use a multimeter for fault detection. Below, let's learn about the basic methods and steps for using a multimeter to detect LED lamp faults.
I. Preparation Work
Confirm the type of the LED lamp: The types of LED lamps are mainly divided into ordinary LED lamps and constant current drive LED lamps, and the detection methods for different types of LED lamps with a multimeter are also different.
LED lamps are widely used in various electronic devices due to their high efficiency, energy saving, environmental protection, and long lifespan. However, LED lamps may encounter various faults during use, such as insufficient brightness, not lighting up, flickering, and uneven lighting. These faults not only affect the use effect of the LED lamp but may also affect the overall performance of the device. When encountering these faults, we usually use a multimeter for fault detection. Below, let's learn about the basic methods and steps for using a multimeter to detect LED lamp faults.
I. Preparation Work
Confirm the type of the LED lamp: The types of LED lamps are mainly divided into ordinary LED lamps and constant current drive LED lamps, and the detection methods for different types of LED lamps with a multimeter are also different. Prepare a multimeter: A multimeter is a commonly used tool for detecting circuit faults with various functions, including measuring voltage, current, and resistance. Therefore, before use, check whether the multimeter is intact and its functions are normal to ensure accurate measurement.
Prepare a screwdriver: If it is necessary to open the shell of the LED lamp for detection, a screwdriver is needed to remove the shell of the LED lamp.
II. Detection Steps
Measure the positive and negative poles of the LED lamp: First, we need to confirm the positive and negative poles of the LED lamp, which is usually determined by the markings on the shell of the LED lamp or the circuit diagram of the LED lamp. Then, connect the red probe of the multimeter to the positive pole of the LED lamp and the black probe to the negative pole, and perform a voltage measurement. If the measurement result is 0V, it indicates that the positive and negative poles of the LED lamp are reversed, and they need to be connected correctly.
Measure the resistance of the LED lamp: Set the multimeter to the resistance range, then connect the red probe to the positive pole of the LED lamp and the black probe to the negative pole, and measure the resistance value. Normally, the resistance value of the LED lamp is relatively small. If the measurement result is infinite, it indicates that the LED lamp is damaged.
Measure the current of the LED lamp: Set the multimeter to the current range, then connect the red probe to the positive pole of the LED lamp and the black probe to the negative pole, and measure the current value. If the measurement result is 0A, it indicates that the LED lamp is damaged.
Measure the voltage of the LED lamp: Set the multimeter to the voltage range, then connect the red probe to the positive pole of the LED lamp and the black probe to the negative pole, and measure the voltage value. If the measurement result is 0V, it indicates that the LED lamp is damaged.
Prepare a multimeter: A multimeter is a commonly used tool for detecting circuit faults with various functions, including measuring voltage, current, and resistance. Therefore, before use, check whether the multimeter is intact and its functions are normal to ensure accurate measurement.
Prepare a screwdriver: If it is necessary to open the shell of the LED lamp for detection, a screwdriver is needed to remove the shell of the LED lamp.
II. Detection Steps
Measure the positive and negative poles of the LED lamp: First, we need to confirm the positive and negative poles of the LED lamp, which is usually determined by the markings on the shell of the LED lamp or the circuit diagram of the LED lamp. Then, connect the red probe of the multimeter to the positive pole of the LED lamp and the black probe to the negative pole, and perform a voltage measurement. If the measurement result is 0V, it indicates that the positive and negative poles of the LED lamp are reversed, and they need to be connected correctly.
Measure the resistance of the LED lamp: Set the multimeter to the resistance range, then connect the red probe to the positive pole of the LED lamp and the black probe to the negative pole, and measure the resistance value. Normally, the resistance value of the LED lamp is relatively small. If the measurement result is infinite, it indicates that the LED lamp is damaged.
Measure the current of the LED lamp: Set the multimeter to the current range, then connect the red probe to the positive pole of the LED lamp and the black probe to the negative pole, and measure the current value. If the measurement result is 0A, it indicates that the LED lamp is damaged.
Measure the voltage of the LED lamp: Set the multimeter to the voltage range, then connect the red probe to the positive pole of the LED lamp and the black probe to the negative pole, and measure the voltage value. If the measurement result is 0V, it indicates that the LED lamp is damaged. III. Precautions
During the detection process, if the shell of the LED lamp is open, make sure that the multimeter's socket does not touch the circuit board to avoid a short circuit.
During the detection process, if the shell of the LED lamp is not open, make sure that the multimeter's socket does not touch the internal circuit of the LED lamp to avoid a short circuit.
During the detection process, if the shell of the LED lamp is open, make sure that the multimeter's socket does not touch the circuit board to avoid a short circuit.
This is the basic method and steps for using a multimeter to detect LED lamp faults, hoping it will be helpful to everyone.
III. Precautions
During the detection process, if the shell of the LED lamp is open, make sure that the multimeter's socket does not touch the circuit board to avoid a short circuit.
During the detection process, if the shell of the LED lamp is not open, make sure that the multimeter's socket does not touch the internal circuit of the LED lamp to avoid a short circuit.
During the detection process, if the shell of the LED lamp is open, make sure that the multimeter's socket does not touch the circuit board to avoid a short circuit.
This is the basic method and steps for using a multimeter to detect LED lamp faults, hoping it will be helpful to everyone.